Get started with SureMDM - iOS
Supports
- iOS 13.x
- iOS 11.x
- iOS 10.x
- iOS 9.x
Activate Supervised Mode on iPhones/iPads
To use remote features like setting Single App Mode and silent app installation in SureMDM for iOS devices, you have to activate Supervised Mode on your the device. Follow below-mentioned steps to activate Supervised Mode:
Note: Enabling Supervised Mode will wipe all data from your device. For security reasons, Apple does not allow to supervise the device if Find My iPhone option is enabled on the device.
1. Download and install the Apple Configurator 2 on your Mac
2. Attach your iOS device to the Mac
3. Run the Apple Configurator 2
4. Select the device and click on Prepare
5. Select Manual from the dropdown and click on Next
6. Select Do not enroll in MDM from the dropdown and click on Next
7. Check both the options Supervise Device and Allow devices to pair with other computer and click on Next
8. On Create an Organization prompt, enter the details and click on Next
9. Select Generate a new supervision identity and click on Next
10. Configure the Setup Assistant and click on Prepare
11. The device will now be wiped and will reboot as a new iOS device
12. After the process goes through successfully, the device will be in Supervised Mode
Enroll an iOS device
1. Download and install SureMDM Nix Agent for iOS from App Store
2. Once installed, launch SureMDM Nix Agent
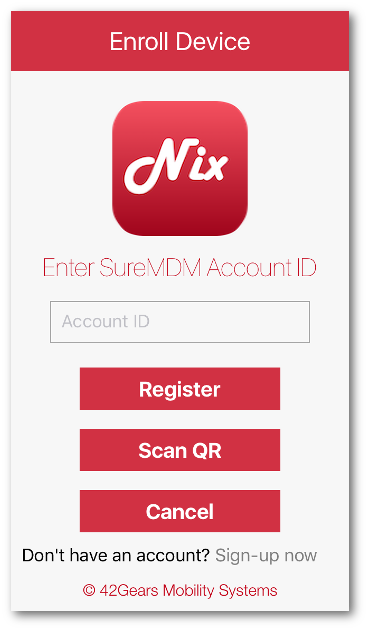
3. On SureMDM Nix Welcome Screen, tap on Enroll Device
4. On Enroll Device screen, select from the following two options:
- Register – If you want to use the Account ID and register manually (Account ID is sent to your registered email address after sign up)
- Scan QR – Use this option if you are logged into SureMDM Web Console and want to use Device Enrollment option to scan and configure the Nix Agent
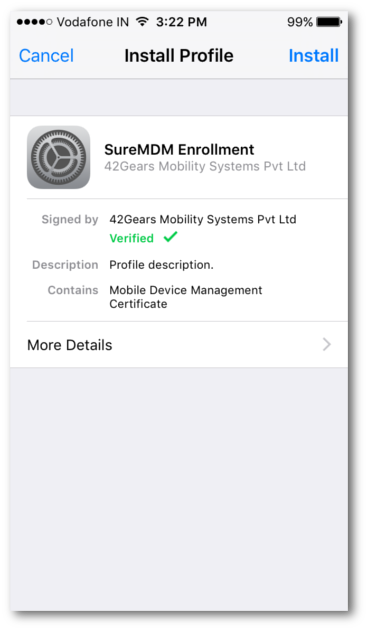
5. On Install Profile screen, tap on Install
6. Once profile installed, tap on Done
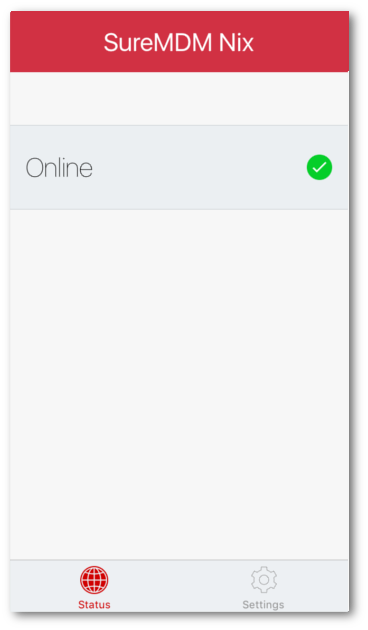
7. On successful configuration, SureMDM Nix Home Screen should mention Online
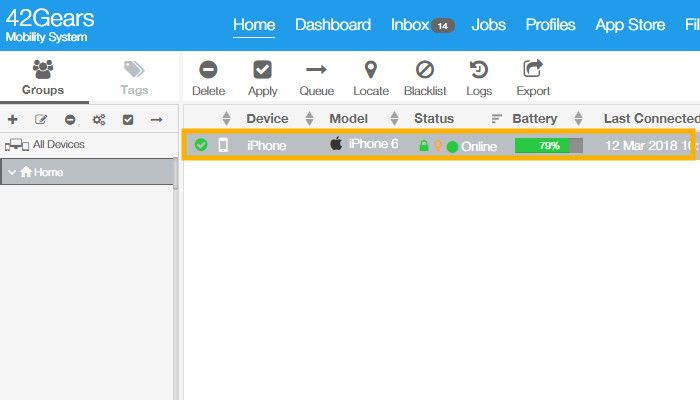
8. On SureMDM Web Console, you will see the device listed under Device List and you can now start managing your iOS device
Start managing your iOS device using SureMDM Web Console
Once you select and highlight the iOS device under Device List, all available options will get highlighted for you to start managing the enrolled device.
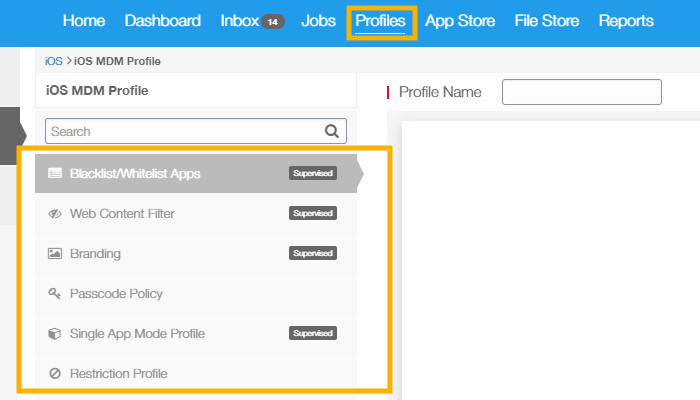
Profiles on Top Toolbar - This options listed in this section allows you to:
- Blacklist/Whitelist App Profile
- Create Passcode Profile
- Create/Edit Single App Mode Profile
- Create/Edit Restriction Profile
- Create Install Application Profile
- Configure Profile
- Create/Edit Wi-Fi Profile
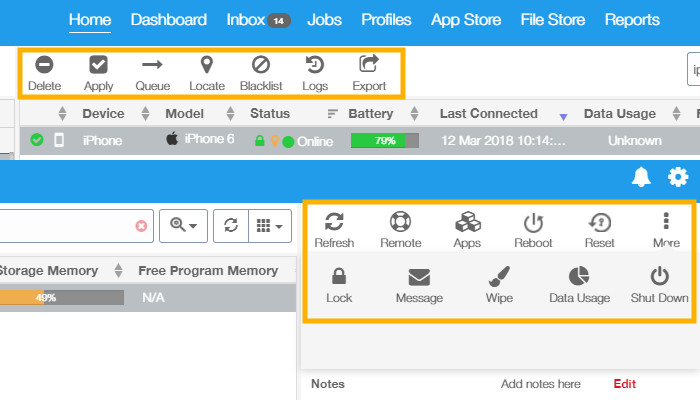
Quick Action Toolbar
Quick Action Toolbar allows you to:
- Apply Profiles remotely
- Blacklist iOS Devices
- View installed apps
- Unlock or Lock iOS Device
- Wipe and reset iOS Device
- Remote access to iOS Device screen
If you need any further help in getting started with SureMDM for iOS, contact our support team.


